Showing posts with label design; weddings. Show all posts

Tuesday, February 22, 2011

The Wedding Re-Cap

I'm kind of sad the weekend is over. There's so much planning, effort and anticipation leading up to a wedding that when the day finally comes...and then goes, there's a bit of a let down that it is done. The DJ stops the music, the guests leave, you take down all the decorations, toss away the wilted flowers and say goodbye to the out-of-town-guests. It is really quite sad. Except for the newlyweds, who are in a little bubble of bliss--exactly where they should be:-)

 But despite the let down, I really love weddings! I love how it gathers the whole family for a celebration; you see everyone you love. Everyone who is dear and special--all in one place, all having a great time celebrating love and the beginning of a new family. 
Saturday was a spectacular celebration of two people, Andy and Alissa, who love each other and love Jesus. What followed an incredibly meaningful and beautiful ceremony was a incredibly fun party: a party that epitomizes what a celebration should be. This is the last wedding my Dad will ever host: he went out with a bang. 

 The Rivermill at Dover Landing proved the prefect venue: an industrial, loft space turned into event center. Remember those before pics?
Here's a look at the space after we decorated and the tables had been set. So trendy!
That's the head table there in the center, the dance floor just above it. 

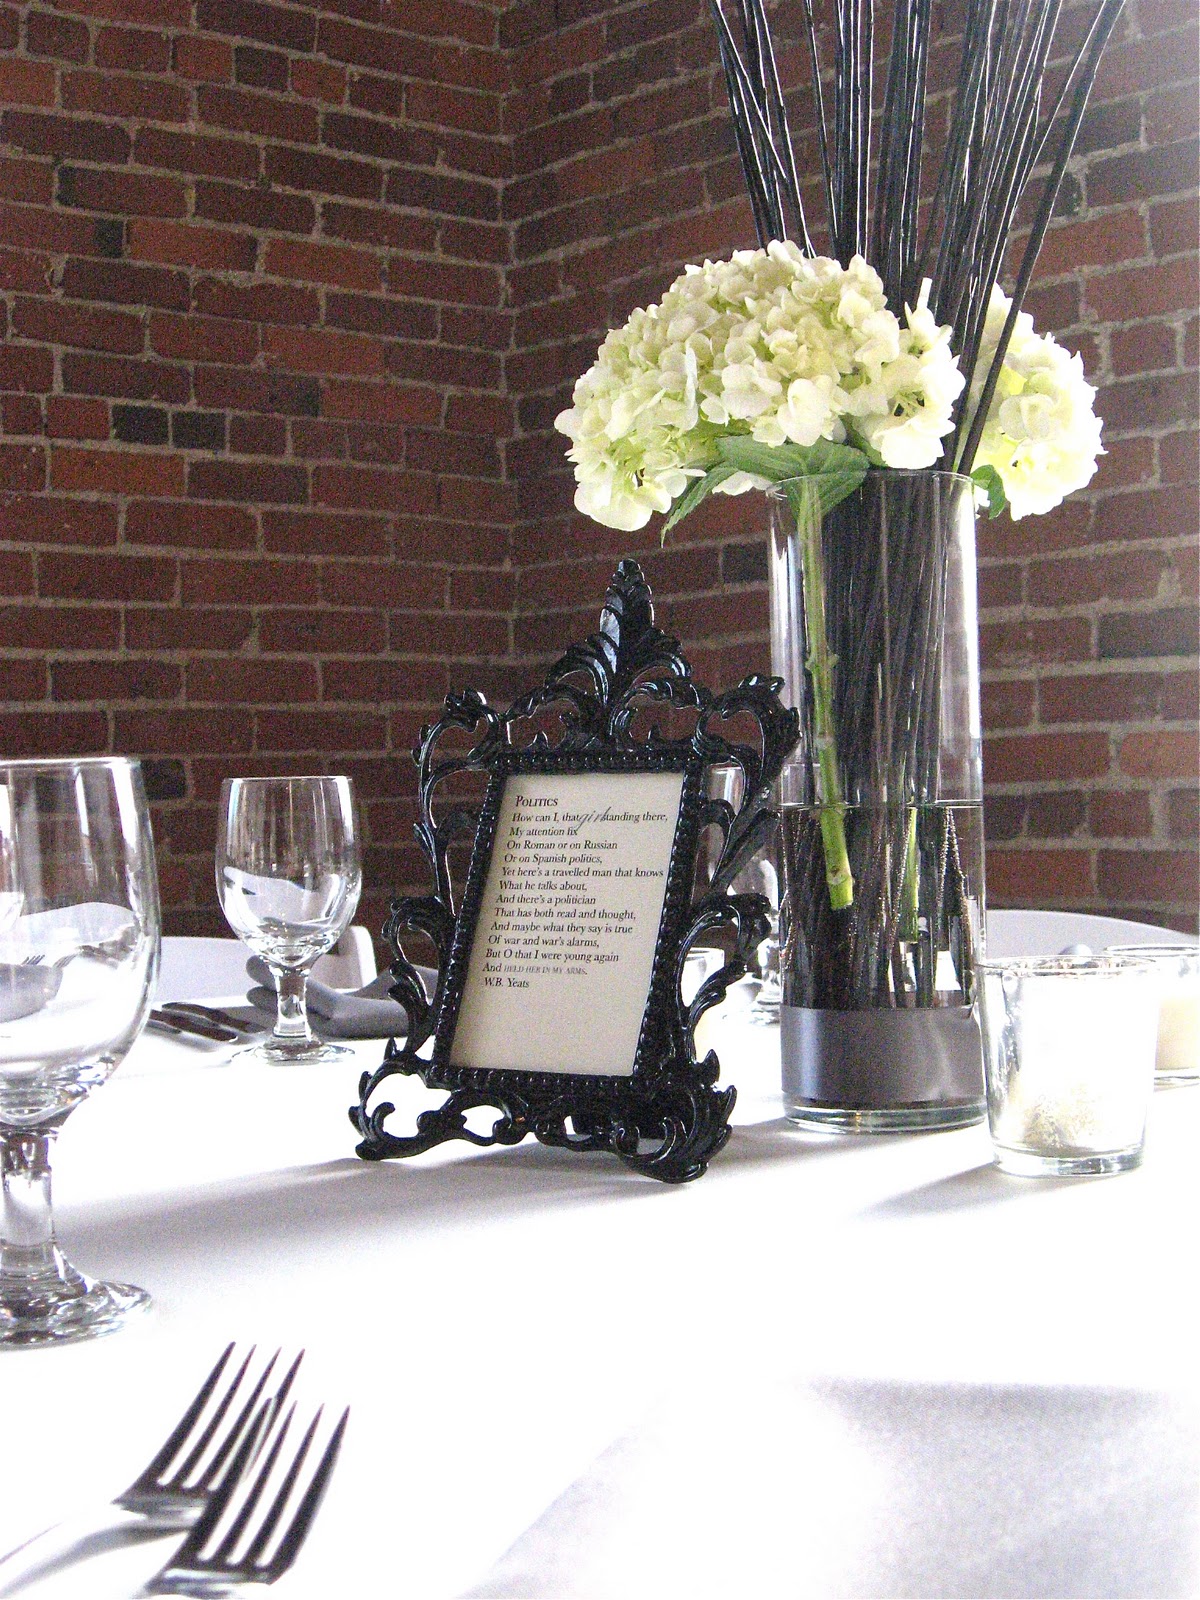
The towering, branching centerpieces with hanging votives.

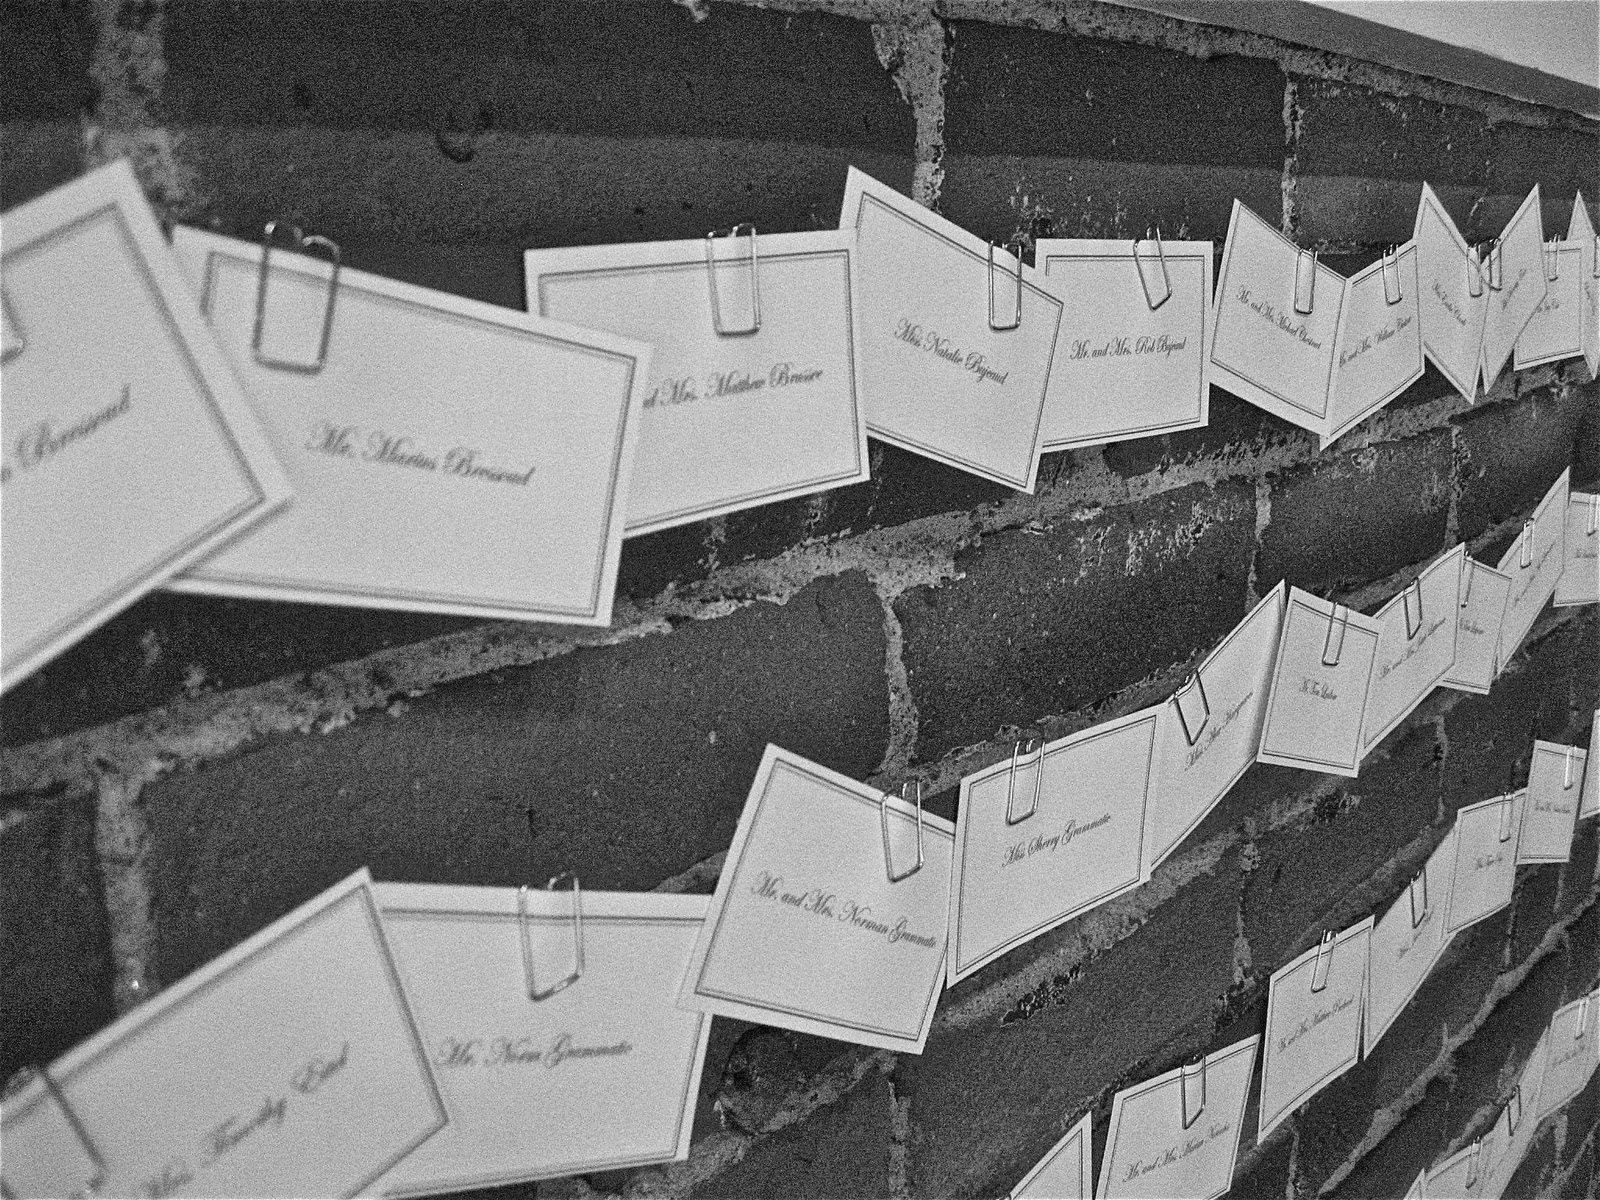
Guests found their seating assignments strung with gray ribbon inside the mantle. The "A's" are for newlyweds, Alissa and Andy.


Each table was marked with an eclectic, but complementary selection of framed poems, specially selected by the couple.

Hydrangea blooms contrast with the black sticks. 


All the bridesmaids had snuggly Ugg boots to wear between the ceremony and reception: perfect for a winter wedding!

There's Deborah of Deborah Zoe Photo at work shooting a fabulously beautiful bride: my little sister, Alissa.

Isn't she lovely?

Such a fantastic couple!

Sad it's over but so happy for the bride and groom--happily ever after.

For more fabulous photos (that aren't grainy and bad--like mine) head over to Deborah Zoe Photos blog.

--Sarah


Show and Tell Green
Make it Yours @ My Backyard Eden


Link up your latest project every Wednesday on the Elle Belle Creative Your Way Wednesday link party!


Saturday, February 19, 2011

"I Do"

Today, my little sister Alissa, says "I Do" to her man, Andy. We did the reception hall last night: so pretty!


Groomsman, Brian and my Dad were pivotal in the decorating process.


My beautiful sister, Alissa.


And today I have the privilege of making these flowers into a beautiful bouquet for her.


Thanks to my sister, Rachel for taking those fabulous photos of us decorating (she's super talented and beautiful too!).

Well, better get to work...we've got a big day of celebrating ahead! Love you Alissa and Andy!

Monday, February 14, 2011

Bridal Bouquet: Final Take

If you checked out my Bridal Bouquet Tutorial last week then you probably heard me talk about a little photo shoot my husband and I won with my friend Deb of Deborah Zoe Photo. It wasn't just any photo shoot, it was a "Love Recaptured" shoot, which involved reliving our wedding day in as many ways possible, right down to the dress and the first look. It's been nearly seven years of marriage, and to see Mark's face again was priceless.

Deborah is an AMAZINGLY talented photographer and had great concepts for poses and looks. She shot those bouquets way better than I ever could! Here's a look at the bouquets from her perspective and a few of my fave shots from our day.
A close up of the bouquet you didn't see much of in the tutorial: carnations, eucalyptus, dusty miller and twigs.

Love how the black suit makes those colors pop!


Deb does weddings (in a few days she'll be shooting my little sister as she walks down the isle to become Mrs. C!!), engagements, family and newborns too. To check out her work, more photos from our "Love Recaptured" shoot and a slide show click here. Be sure to leave her some love and comment on her blog or her facebook page!

Making
Sumo Sweet Stuff


Tuesday, February 8, 2011

Bridal Bouquet Tutorial

This weekend my husband, Mark and I got to re-live a bit of our wedding day, thanks to my friend Deborah Zoe Photo. Debbie is an amazingly talented photographer who I know thanks in part to the fact that our husbands shared a rich (I chose my adjective carefully here...many other, less "family friendly" words could be inserted here) history of living together in an all-guys house during their college days. We have a sort of bloggy-friendship that I love: it's so encouraging to know other independent business owners who are talented, generous and just plain FUN. Debbie is one of those people.

Long story short, we won a photo shoot with her, a sort of "wedding do-over" that gave me the chance to get back in my dress and Mark a chance to get out of his Carharts (I'm still not sure which one I was more excited about.) Debbie is the consummate professional; I mean seriously, I felt like I was on America's Next Top Model: "Now, dip your chin. Ok, look up. Perfect." So fun! She even laughed politely at my husbands "GQ" face.

For the shoot I made a couple "prop" bouquets. Arranging bridal bouquets is really one of my favorite things to do, I love taking raw materials and putting them together in a way that makes you go: "wow." The bouquets I made for the shoot weren't as filled-out as I might normally make a real bridal bouquet, but for prop purposes they worked. (While the pictures I took won't make you go "wow", the ones Debbie took will.)

What's great about making bouquets is that they are really quite easy to do, and even if you aren't arranging flowers for a wedding you can easily follow the same principles to make a lovely centerpiece for you dining room table.

Here's what I started with:
1) Floral tape (L.O.V.E floral tape, its stretchy, sticky and forgiving)
2) Flowers (I picked up a couple $5 bunches from Walmart..tried to keep the props inexpensive.)
3) Greens (I had a combo of fake greenery (dusty miller leaves, eucalyptus and twigs from a bush outside.)
4) Floral pins
5) Wrapping materials (ribbon, fabric, in this instance I used yarn)
6) Cutting Board, paring knife, large kitchen knife and scissors.

Floral Tape.
 Floral Pins.
 Step 1: Trim and clean the stems. Remove excess leaves from the portion you will be working with. This makes it much easier to work with the bouquet and keeps it from getting too bulky.
 Tulips cleaned and ready to use.
Step 2) Create a small cluster of two to three stems and some greenery.
Secure with floral tape.
 Until you have a small bundle like this:
 Step 3) Add in more stems: both blooms and greenery. Secure these with floral tape.

 Check the bouquet from the top to ensure that you are constructing a "round" bouquet. Fill in where necessary.
 Step 4) Continue to build he bouquet securing all additional stems and greenery with floral tape as you go.
 Check again for symmetry and "roundness" from the top.
Step 5) Trim ends of stems with large kitchen knife. 
 Step 6) Using either fabric or ribbon cover floral tape and secure covering with a floral pin, pressed down into the group of stems (if you press directly across, the sharp end of the pin will come out the other side...ouch!)

 Add decorative elements by layering different colors and textures.

 Step 6 Alternative) If you are using ribbon or yarn that requires wrapping there's a bit of a technique to creating a "clean." Starting from the bottom, extend the ribbon all the way up the handle of the bouquet leaving plenty of "slack."
 Start wrapping from the bottom, covering the floral tape and the "slack" as you go.
 Once you get to the top of the bouquet, tie off the ends and make a small bow or secure the loose ends with a floral pin.

Here's a look at one of the final bouquets:


Can't wait to see Deborah Zoe Photo's version of the bouquets. Keep an eye out on her blog for the photos!

--Sarah


Show and Tell Green

Make it Yours @ My Backyard Eden


Photobucket


Link up your latest project every Wednesday on the Elle Belle Creative Your Way Wednesday link party!


giveaways