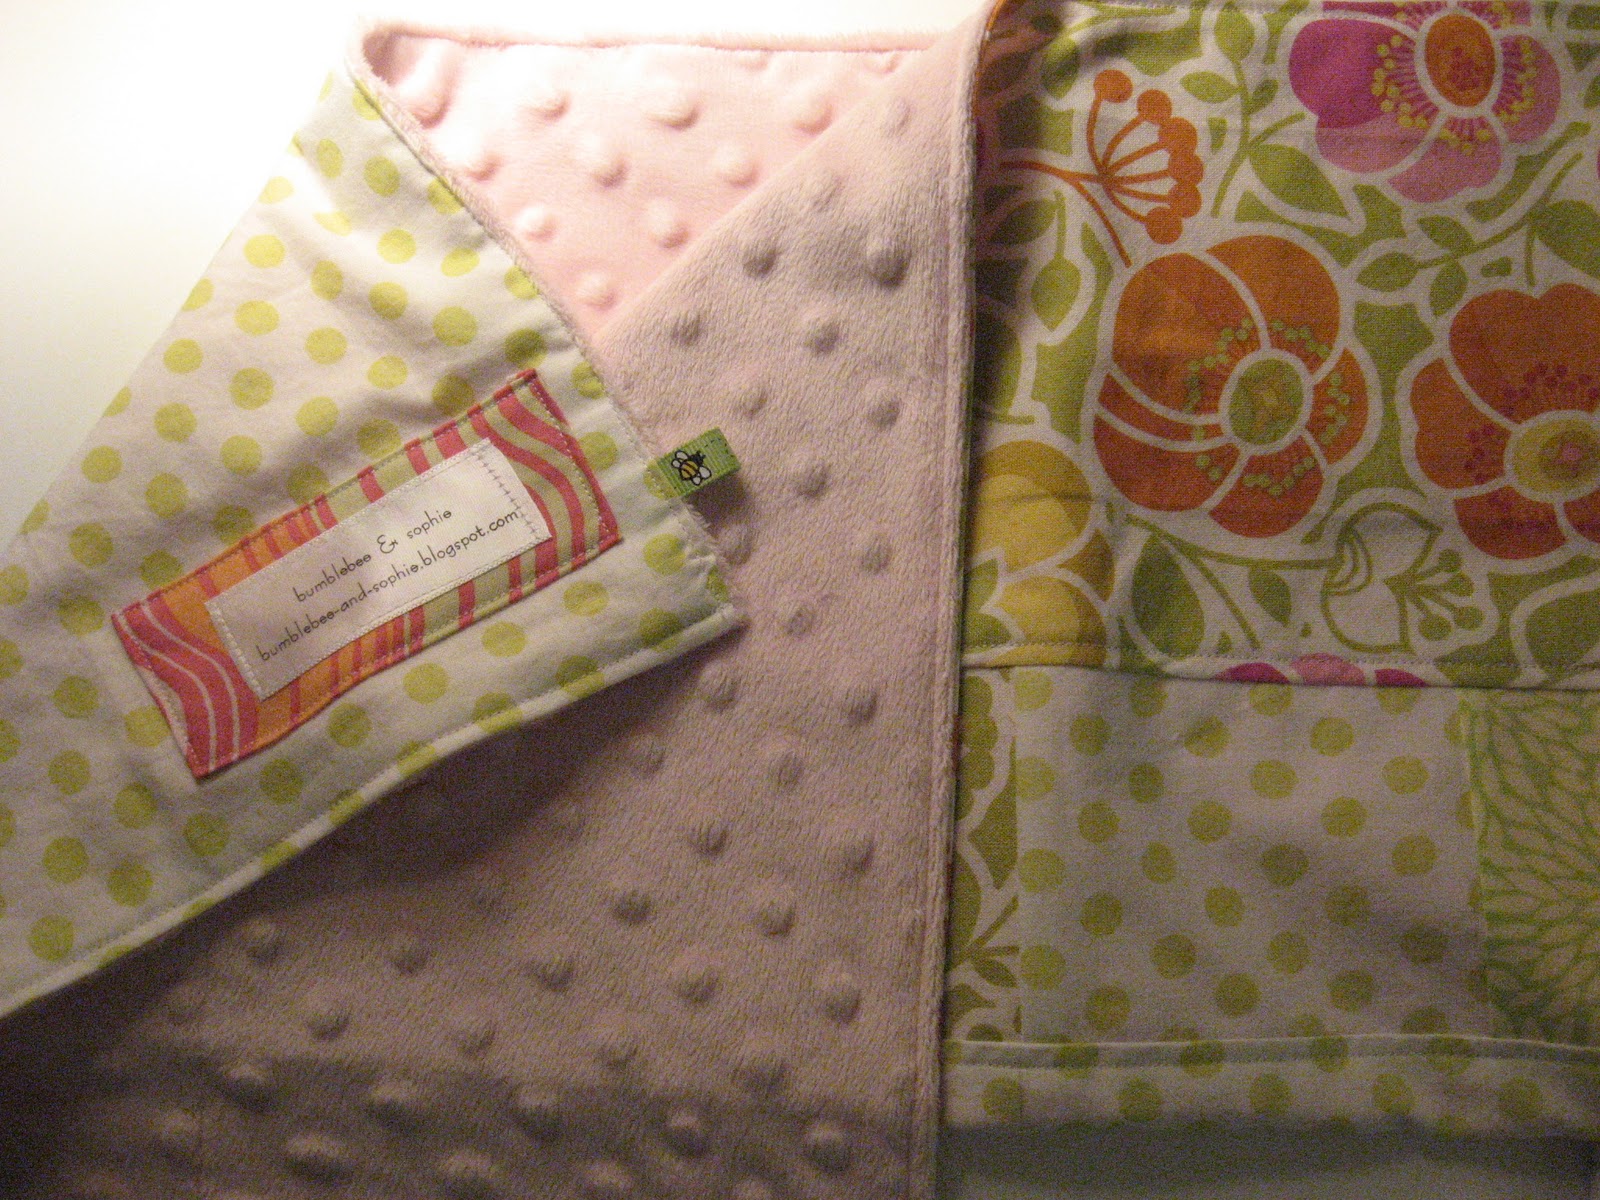
Not long ago I saw some beautiful Amy Butler laminated fabric that was calling my name. I bought the fabric without much of a plan, but soon was inspired to create a more "girly" chair pad for my daughter Sophia's high chair.
This is the original chair pad, which I used to trace a template onto paper:
Here is my paper template:
I placed the paper template on the laminated fabric and cut two (2) pieces.
I wanted to mimic the two toned look of the original chair pad that came with the high chair, so I cut a second piece from another Amy Butler print in the home decor weight.
I then used template "B" to as a guide to cut off the top of one of the laminated pieces.
So the two pieces looked like this: 
I placed the right sides together and sewed the two pieces together:
The finished seam looked like this:
One of the tough things about sewing with laminated fabric is that you can't iron it directly, so I used a piece of scrap fabric as a buffer. I've read about other methods, but this seemed to work for me and neither harmed my iron nor the laminated fabric.
I set these pieces aside and began to work on the ties.
The pad attaches to the chair at four corners on the seat and on the back. So I cut a total of eight, 8 inch long, 1 1/2 inch wide strips for the seat-ties and two 12 inch long and 1 1/2 inch wide ties for the back.
I decided to use the pink and cream paisley for the ties that I would use to attach the pad to the chair. The original uses velcro, but I liked the look of ties. So I went with that.
I ironed the ties like this and then folded them in half.
So that they looked like this:
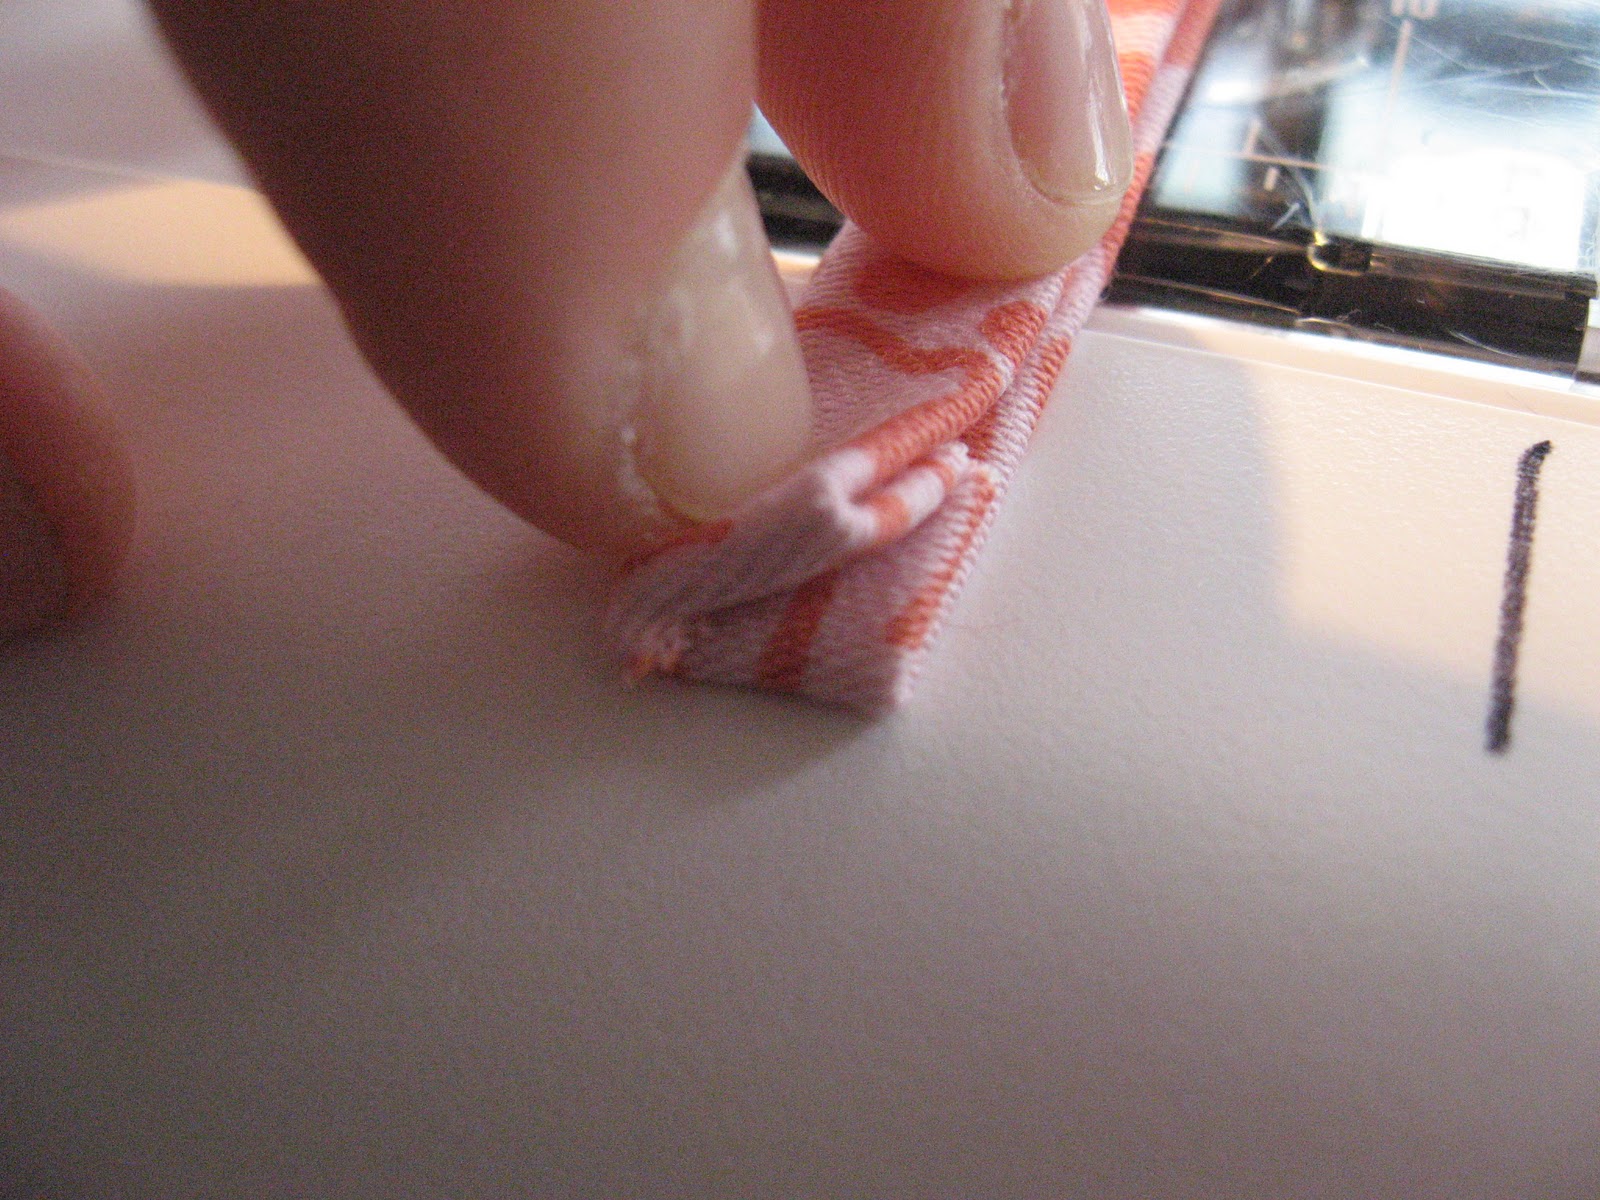
I was able to make a cleaner seam by notching the end like this. It was easier to fold that way.
The original pad features a binding around the outer edge. I wanted to repeat that look to give the pad I was making a more finished look. I cut 1 1/2 strips on the bias (for a little more give and ease of working around the rounded edges). Looking back, I wish I had made the cut this a little wider at 2 inches. It would have made sewing it to the pad much easier. I cut large length and sewed them end-on-end together until I had about 90 inches, which was more than enough, I only used about 75 inches total.
After finishing the ties and binding. I went back to the pad. I used two layers of regular quilting batting as the padding. The original pad is not very thick and I could have made this one thicker, but I didn't want it to be so thick that my machine had a hard time with it.
My original plan was to sew all these layers together, but, what I learned by trial and error is that laminated fabric is very hard to sew, as it is so slippery. I found a few helpful tutorials online here. So instead, I decided to sew everything together with the binding. I found the most helpful way of pining the binding to be alternating the pins front to back as shown below: This kept the binding in place as I sewed. There are other ways to do a binding: I could have sewn one side then finished the other by hand.
As I sewed the binding down I placed the ties into the binding at the back, like this:
Two ties at each of the four corners of the seat and two ties on either side of the back.
This is the finished view of the binding for the front:
And this is what the back looks like:
The next step was to create two large slots for the high chairs straps to come through. I marked a two inch long line on the back of the pad, where the two straps would come through. Then used a zig-zag stitch to create a very large button-like hole.
This is what it looked like when finished:
And here is the final product on the chair:
Pretty cute, huh? I think so!
A closer view of the straps coming through the button hole slots.
View of where it ties to the slats on the chair.
The binding was the most challenging part of this project. I think if I had cut a 2 inch wide bias tape instead of 1 1/2 there would have been fewer frustrated groans. Overall though, I'm happy with the results!
--Sarah