Thursday, March 10, 2011

Indie Biz 3.0 Binder

I'm taking Indie Biz 3.0, and awesome online class put on by three fabulously crafty and successful ladies.
 edited+blog+ad+copy.jpg
I've been a bit behind on my assignments, due to some of the craziness of life these past few weeks. But this weekend I finally had the chance to sit down and make my class binder (the first assignment). I tried to keep it simple with a lot of store bought additions (like stickers and pre-made scrapbooking cuteness) and this is what I came up with:
 "See through" 99 cent binder from Staples, dressed up with a little birdie.
"Seeing through to the Intro page"
Cute little birdie:-)
A few fabric scraps sewn to a sheet of card stock paper. Ruffles. Love them!
"Velvet" feel stickers dress up the pocket folder. Plus another little birdie.
Pocket folder for inspiration and extra things.
A second pocket folder for more things/ideas/scraps of paper.
Labels that came int he scrapbook pack I picked up at JoAnns.

A closer look at that ruffle.


So far the class has been fantastic! A stirring the creative pot in my mind!

--Sarah

Wednesday, March 9, 2011

$5 Bouquet

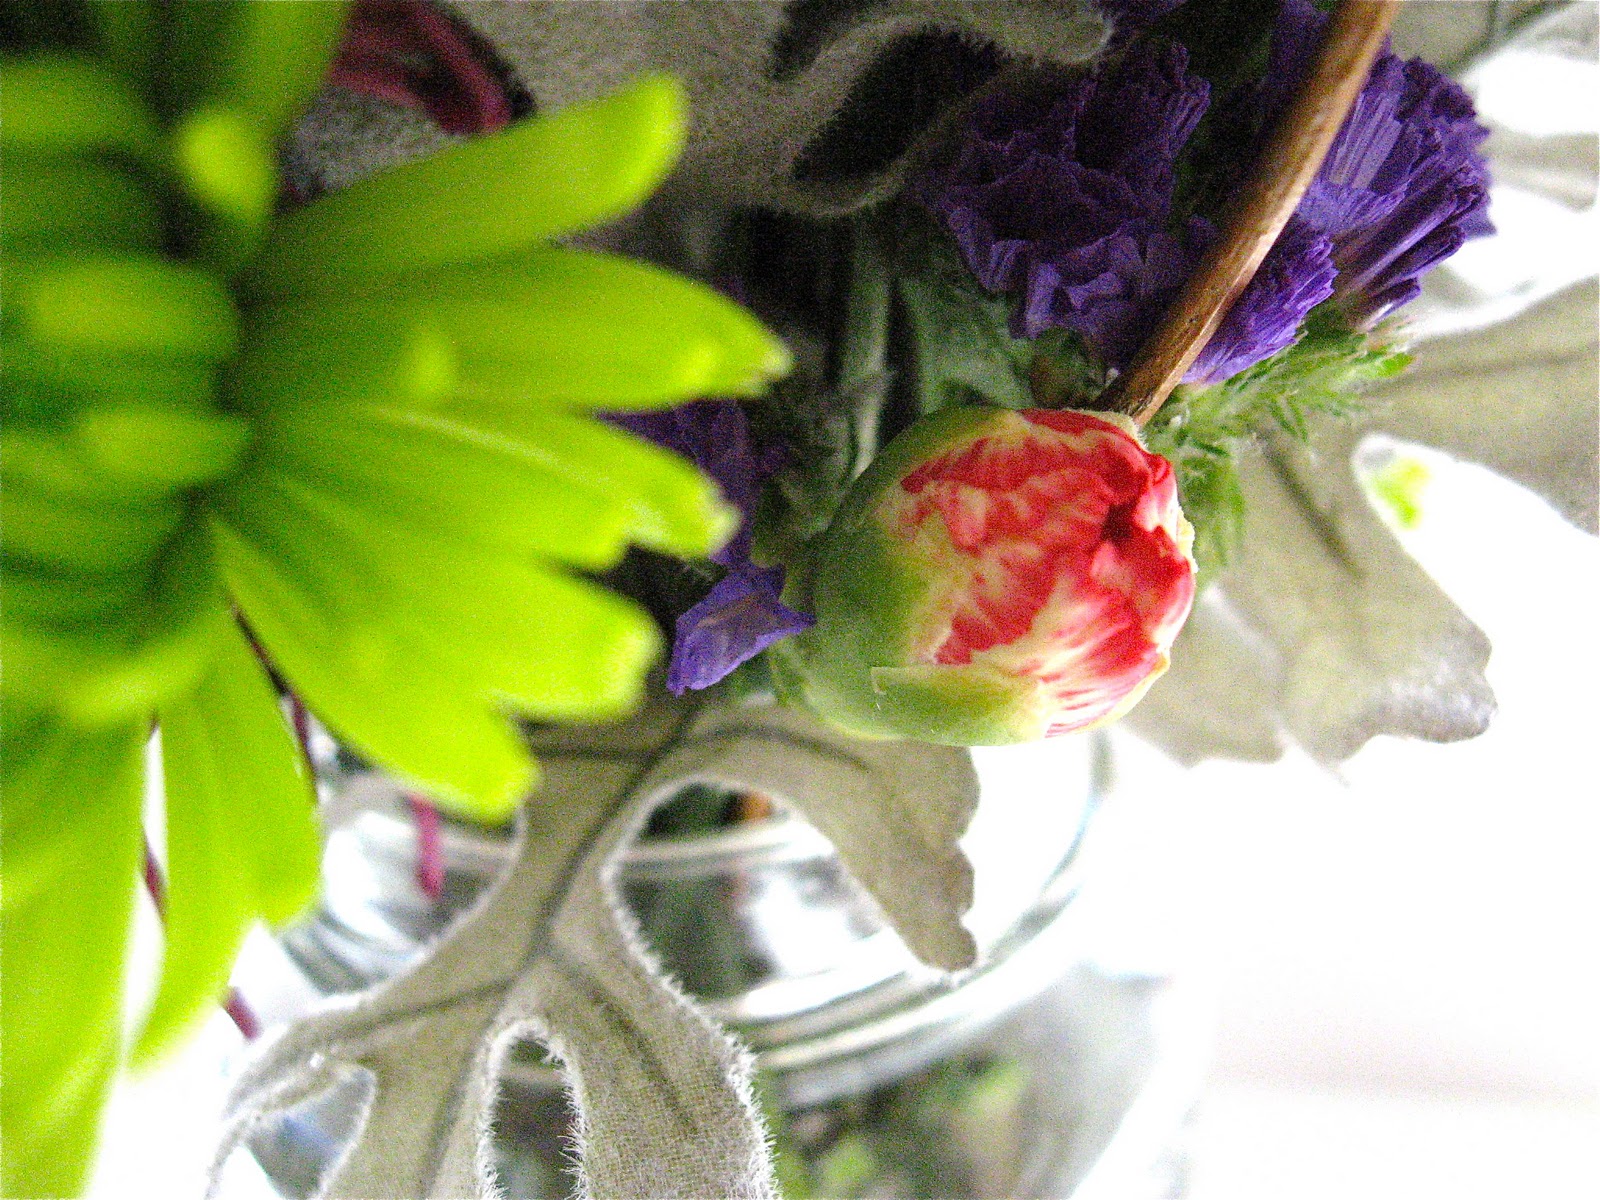
Last week I had to stock up on toilet paper and paper towels at Walmart. While I was there I walked past their fresh flowers, turned around and walked back and plucked a colorful bunch. It was only $5 and was quite full and had a nice variety. When I got home I put them in a mason jar. It was exactly what I needed: we've had a L-O-N-G winter and I've got a hankering for Spring something bad! 


Here are a few tips for making grocery store (or Walmart) packaged flowers into a nice arrangement.

1. trim all leaves from the stems
2. always build from the center; select two to three stems to serve as the center hold them up to your vase and decide how tall you want the arrangement to be (remember the taller you make it the more flowers you need to make the arrangement stand straight up in the vase)
3. add flowers around your center flowers, trimming the ends so that the height of the flowers slowly descends to the rim of the vase (as you add flowers one stem at a time the arrangement will start to stand on its own, don't worry if it leans to the side at first)
4. add twigs and greenery for interest (grab whatever you have from the back yard)
5. add water last (I find this easier that way if you have to pull stems out to trim to a different length they aren't dripping all over the floor and countertop)


Bring on Spring!
--Sarah

a href="http://bluecricketdesign.net/" target="_blank">BCD 125


Make it Yours @ My Backyard Eden


Tuesday, March 8, 2011

The Three Hat Day

I am always amazed by my granddaughter Sophia.  Of course she is brilliant!!  She also loves having her picture taken.  She knows that the picture appears on the back of the camera and comes over to look, usually giving me a "pleased with herself" smile.
This week while babysitting Sophia discovered some of my hats.  And of course "Gramaratzi" got out the camera.

In case you can't see; she is a RED SOX fan!!
Sometimes we need two hats.


Creative ways to wear a hat, it might be a new fashion trend in the making.
Then there is the glamorous hat Aunt Alissa left behind.
Such a Little Lady!
It was a great afternoon!! I LOVE being a Grandma!

Cindy

Monday, March 7, 2011

Announcing {drumroll please}: The Spring/Summer Trunk Show!


That's right! The NEST Maternity and Baby in Portsmouth, NH will be helping host our very first Trunk Show! Mark your calendars! It should be a fantastic event: we'll be showcasing our spring and summer designs in all our new fabrics (which are GORGEOUS! Click HERE to see some of them). In addition, there will be door prizes and refreshments, and of course a chance to browse some of the amazing products that The NEST carries in their boutique. Be sure to stay tuned to the blog for more details and maybe a few specials;-) 

Thursday, March 3, 2011

a few beautiful things

I had two custom orders this past week for burp cloth sets. The fabric choices were great and came together beautifully. 


As you can see it is a beautiful, clear day here in New England...it is, however, only eight degrees outside. Warmer weather is right around the corner...we hope.

--Sarah

Tuesday, March 1, 2011

mmmm....chocolate

 If I am craving chocolate(..."if," who am I kidding?! More like "when"...and the answer to that would be every day), it is usually in the form of a fudgy, gooey brownies. I love dense, fudge-like brownies, the kind that stick to your fingers and require much licking. Hmmm. Those kind. You can't get that kind from a box mix, you gotta make it from scratch. I've compiled this recipe from several different ones I found online. I've manipulated it a little over time, playing around with the amounts and what I've settled on makes a pretty darn good brownie.


I lick that bowl, thank you very much.
Homemade Brownies

Preheat oven to 350

Melt 2 sticks of butter
Add 1 c. white sugar and 1/2 c. brown sugar
Add two eggs
Add 1 tsp. vanilla
cream together all the wet ingredients
Add 1/2 c. cocoa powder
Add 1 1/2 c. flower
Add 1 tsp. salt
mix thoroughly

put batter in 8x8 baking dish bake for 25-30 min. center should be cooked but gooey


**There are no "after" shots, because after they came out of the oven I ate them all. Well, no I didn't eat them all. Just most of them, then had to cover them up and put them away, out of sight or I would have eaten them all.

Monday, February 28, 2011

Thrifty Organization

I dream of being really organized.  Sometimes I am more successful than others. Which means I am always looking for new storage containers: places to store and organize the many (and I mean many) items that I need in my sewing room.  But I also don't want to spend alot of money. 
A sample of what needs to be stored from my most recent shopping trip.

One of my favorite blogs is Sew Many Ways.   Tool Time Tuesday is always an inspiration,  Karen has amazing ideas for using and reusing found items and hardware store finds. Reading her blog has sharpened my eye for thrifty.
Found:  Large Nut containers, seems a shame to throw them away.  As you can see I tried to peel the label off, I thought I could just put a paper label over.  But, lets be creative here...
Feeling inspired, I grab my Mod Podge, some fabric scraps and a fabric pen and went to work.

Using pinking sheers on some of the scraps for a little variety.  I then made a label from some muslin, and my fabric pens.

Ta Da!!  New storage containers.


Their new home on the shelf!!


Hope you are inspired to re-use and recycle, Thanks Karen for all your inspiration!!!


Cindy

Making
The Girl Creative